How to Solve the Pyraminx
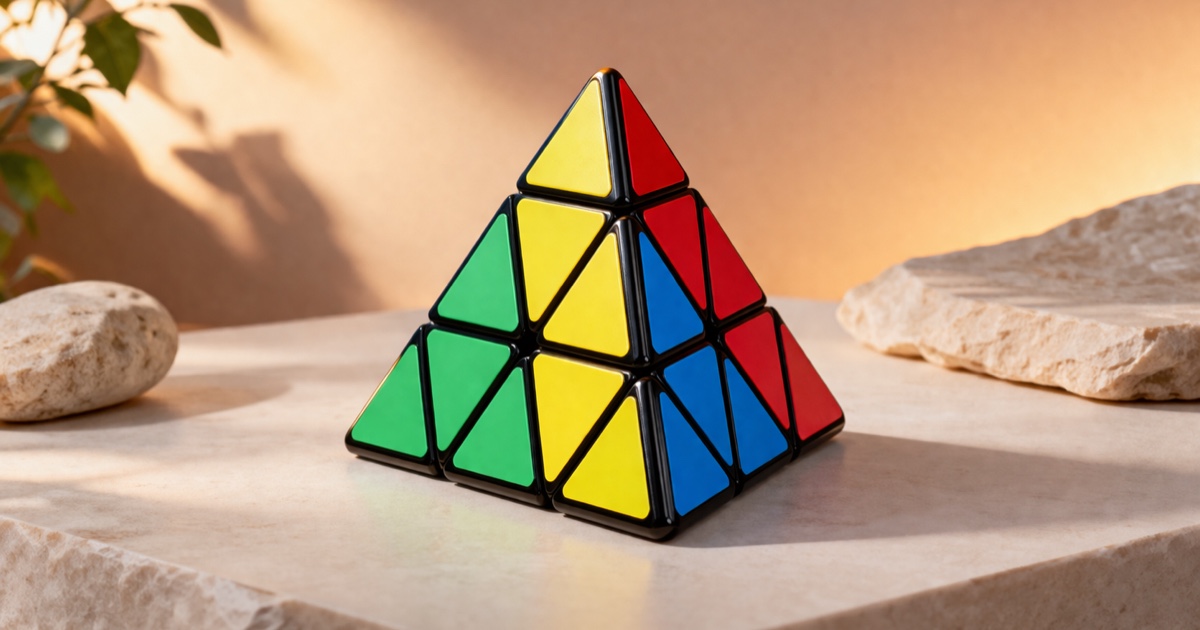
Learn to solve the Pyraminx using the Layer-by-Layer method — the easiest beginner approach. The Pyraminx is a tetrahedron-shaped puzzle with 4 tips, 6 edges, and 4 centers. We'll solve it in 4 simple steps.
Notation
The Pyraminx uses a unique notation system with uppercase letters for layers and lowercase letters for tips:
Layers (uppercase) — rotate the entire layer (excluding the tip):
- U = Upper layer R = Right layer L = Left layer B = Back layer
Tips (lowercase) — rotate only the tip:
- u = Upper tip r = Right tip l = Left tip b = Back tip
A letter alone means clockwise 120°. Adding ' means counter-clockwise 120°.
For example: R = rotate right layer clockwise, R' = counter-clockwise, l = rotate left tip clockwise, l' = counter-clockwise.
Hold the Pyraminx with one face toward you and one tip pointing up for all steps.
Step 1: Solve the Tips
Align the 3 visible tips so each tip's color matches its adjacent center. The 4th tip is on the bottom and will be handled later.
This step is intuitive — each tip has only 3 possible positions, so at most 2 twists will solve it. Simply rotate each tip until its color matches the center next to it.
Example: Solving all three visible tips
Tips: Always start with this step — it's free and instant. Once the tips are aligned, you never need to touch them again.
Step 2: First Layer Edges
Build a complete first layer by placing the 3 bottom edges in their correct positions. Choose a face as the bottom (we recommend starting with the face that already has the most matching colors).
This step is mostly intuitive. Find each edge that belongs to the bottom layer and insert it using simple layer turns.
Case 1: Edge in the top layer, correctly oriented — A single layer turn inserts it directly.
Case 2: Edge in the top layer, flipped — Use two layer turns to flip and insert.
Tips: If an edge is already in the bottom layer but in the wrong position, use a layer turn to pop it out to the top first, then re-insert it correctly.
Step 3: Last Layer Edges
Position the 3 top-layer edges into their correct places. After this step, each edge will be between the two correct centers, but may still be flipped.
Look at the top layer and determine which direction the edges need to cycle:
Case 1: Clockwise 3-cycle — All three edges need to move one position clockwise.
Algorithm: R U' R' U R U' R'
Case 2: Counter-clockwise 3-cycle — All three edges need to move one position counter-clockwise.
Algorithm: L' U L U' L' U L
Tips: If only 2 edges need to swap, that means one of these 3-cycle algorithms will solve it — just look carefully at which direction the cycle goes.
Step 4: Orient Last Layer Edges
The final step! If the last layer edges are in the correct positions but flipped (wrong color facing out), use this algorithm to flip them.
Flip 2 edges: R U R' U R U R'
Hold the Pyraminx so the edge that does not need flipping faces toward you. Then apply the algorithm.
If all 3 edges need to be flipped, apply this algorithm once — it will flip 2 of them, and then you can rotate the top to set up and flip the remaining 2 (one of the previously flipped edges plus the last one).
Congratulations! You've solved the Pyraminx! With practice, the Pyraminx can be solved in just a few seconds. It's one of the fastest puzzles to master — keep practicing and you'll be solving it in under 10 seconds.